Heat Pump Installation Mistakes to Avoid: Lessons from the Field
A premium heat pump with a top-tier COP rating can still underperform by 30 to 40 percent if the installation is sloppy. Field studies across Europe have repeatedly shown that installation quality — not brand, not refrigerant type, not compressor technology — is the single largest variable in real-world heat pump performance. Suoher's field engineering team has logged hundreds of commissioning visits across the UK, Germany, France, and the Nordics, and the same five mistakes appear on almost every underperforming system. This guide walks through each one with real diagnostic data, explains the physics behind why it kills efficiency, and gives installers and buyers a checklist they can use on the next job.
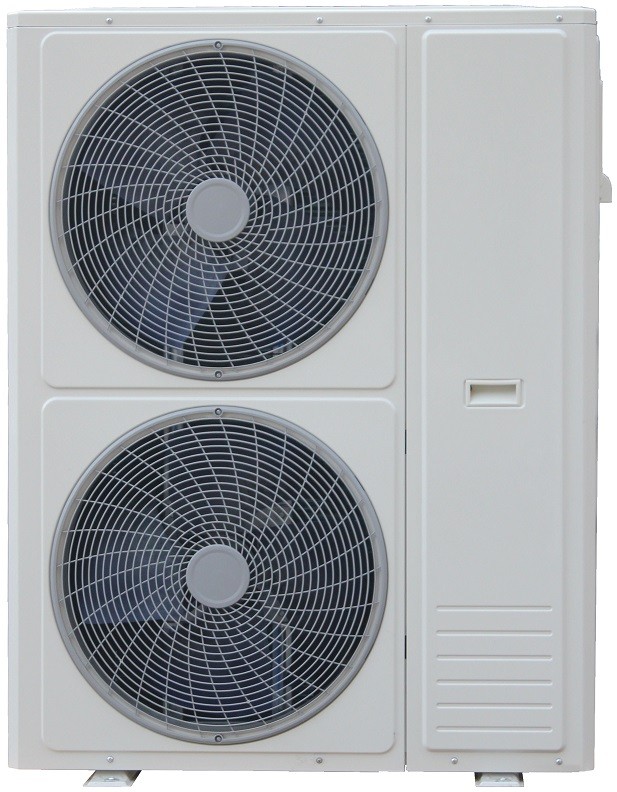
A correctly installed Suoher SHAW-15DM3/K 15kW DC inverter monobloc — level concrete pad, 500 mm rear clearance, insulated flexible hoses, and a buffer tank in the plant room. This is what right looks like.
Why Installation Quality Beats Brand
When a heat pump underperforms, the first instinct is often to blame the equipment. In reality, the European Heat Pump Association's field monitoring data tells a different story: across more than 2,800 monitored air-source heat pump (ASHP) installations in Germany, France, and the UK, the seasonal performance factor (SPF) of identical models varied by up to a factor of 2.4 depending on who installed them and how. The same brand and model could achieve an SPF of 4.1 in one house and 1.7 in another — purely because of installation differences.
Field Data: 17% of ASHPs Fail Efficiency Standards
A 2024 field study by the UK's Energy Saving Trust and the European Building Automation Association tested 640 ASHP installations against their predicted seasonal efficiency. Seventeen percent fell short of the minimum acceptable threshold (SPF 2.5) — not because the hardware was defective, but because of installation errors. The most common root causes were oversized units short-cycling, incorrect refrigerant charge after pipe extensions, restricted airflow around the outdoor unit, missing or undersized buffer tanks, and commissioning steps that were skipped entirely.
The financial impact is severe: a heat pump running at SPF 1.8 instead of its rated SPF 3.5 consumes nearly twice the electricity for the same heat output. Over a heating season, that adds €400 to €900 to the annual running cost — enough to erase the operational savings that justified the heat pump purchase in the first place. Suoher's engineering team treats installation as part of the product, not an afterthought, and this guide is part of that commitment.
Mistake 1: Sizing Errors
Oversizing is the most common and most damaging installation mistake. The logic that drives it is understandable: contractors add a 15 to 20 percent safety margin "just in case," then add another margin for the domestic hot water load, and end up with a heat pump that is 40 to 60 percent larger than the building's actual heat loss. The result is a unit that satisfies the thermostat in five minutes, shuts off, waits ten minutes, and starts again — a pattern called short cycling.
Oversizing and Short Cycling
Every time a compressor starts, it draws a high inrush current and runs briefly at low efficiency before reaching steady state. A short-cycling heat pump might run for only 4 to 6 minutes per cycle, spending 30 to 50 percent of that time in the inefficient startup phase. Field measurements show that an oversized heat pump cycling six times per hour consumes 15 to 25 percent more electricity than the same unit running continuously at part load via its inverter.
The correct sizing procedure is a room-by-room heat loss calculation following EN 12831 (the European standard for heat loss calculation) or the equivalent national method. The design outdoor temperature, indoor setpoint, U-values of walls, windows, roof, and floor, and the air change rate all feed into the calculation. The heat pump's capacity should match the calculated heat loss at design conditions, with no more than 10 percent margin. The DHW load is handled by the buffer tank volume and recovery time, not by oversizing the compressor.
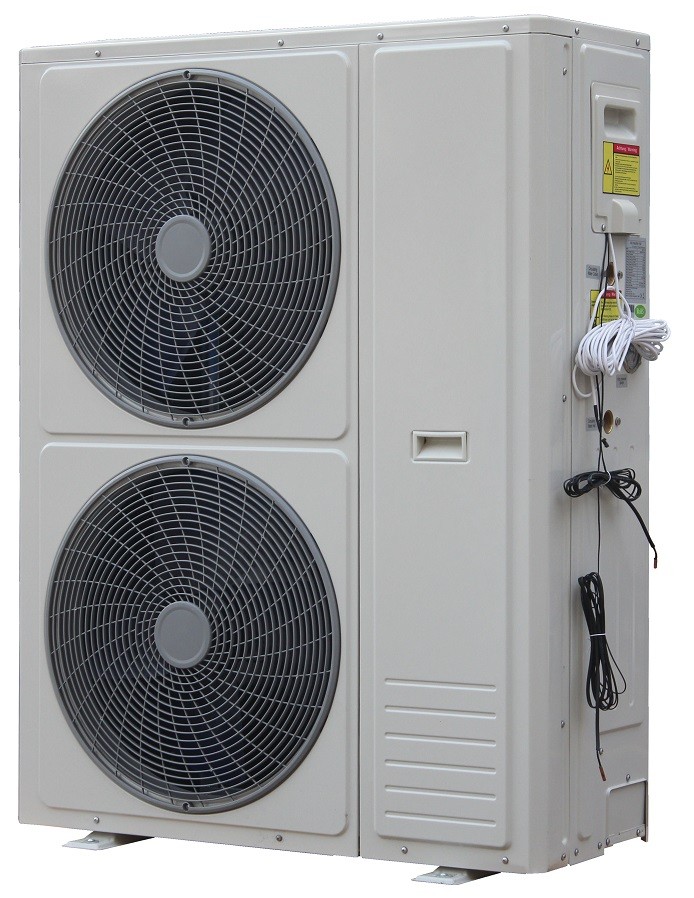
Suoher SHAW-15DM3/K — 15kW DC Inverter Monobloc
A right-sized DC inverter unit for 150 to 220 m² homes. The inverter compressor modulates from 3.4 kW to 15.2 kW input, eliminating short cycling when matched to actual building heat loss.
- Heating capacity: 8.9 – 15.2 kW
- COP: up to 4.43
- Max water temp: 60°C
- Power supply: 380V / 3-phase
- Noise: 58 dB(A)
The table below shows what happens when the same 12 kW heat-loss house gets three different size units:
| Unit Size | Cycles / Hour | Avg Cycle Length | Seasonal COP | Annual Electricity |
|---|---|---|---|---|
| 12 kW (correct) | 1 – 2 | 25 – 35 min | 3.8 | 4,200 kWh |
| 16 kW (+33%) | 4 – 5 | 8 – 12 min | 3.1 | 5,100 kWh |
| 20 kW (+67%) | 6 – 7 | 5 – 7 min | 2.4 | 6,600 kWh |
The 20 kW unit in a 12 kW house costs 57 percent more to run each year, despite being the "bigger and better" machine. Inverter technology helps — a DC inverter can ramp down to 30 percent of rated capacity — but even an inverter struggles to stay efficient when it is twice the required size and cycling in short bursts.
Mistake 2: Incorrect Refrigerant Charge
Monobloc heat pumps come pre-charged with refrigerant at the factory, and for a standard installation with the supplied pipe lengths, no additional charge is needed. But when installers extend the refrigerant lines beyond the factory allowance — or when split systems are installed — the refrigerant charge must be adjusted in the field. Getting it wrong in either direction is costly.
An undercharged system has insufficient refrigerant mass to maintain the evaporation pressure, so the evaporator runs too cold. The compressor works harder, the COP drops, and in cold weather the evaporator may freeze over completely and trigger continuous defrost cycles. A field measurement on an undercharged R410A split system showed a COP drop from 3.6 to 2.1 — a 42 percent efficiency loss — and the unit never reached its target leaving water temperature.
An overcharged system has too much refrigerant mass, which raises the condensation pressure and forces the compressor to work against a higher pressure differential. The effect is less dramatic than undercharge but still significant — typically a 10 to 20 percent COP penalty. Overcharging can also cause liquid refrigerant to reach the compressor, which causes mechanical damage over time.
The correct procedure is to weigh in the charge based on the actual installed pipe length, using the manufacturer's specified charge-per-metre value. Suoher factory in Foshan pre-charges every monobloc unit and stamps the charge mass on the nameplate. For monobloc installations with standard pipe lengths, no field adjustment is needed — but the installer must verify that the pipe run does not exceed the maximum length specified on the nameplate.
Mistake 3: Poor Outdoor Unit Placement
Where the outdoor unit sits determines how much air it can move and how hard it has to work. The three most common placement errors are insufficient clearance, wind exposure that strips heat from the coil, and snow or leaf accumulation that blocks the airflow path.
Clearance, Wind, and Snow
Manufacturers specify minimum clearance around the outdoor unit for a reason: the fan must draw outdoor air across the entire coil face and discharge it without recirculation. When the unit is shoved into a corner, tucked under a deck, or pressed against a wall with 100 mm of clearance, the discharged cold air bounces back and is drawn through the coil again. The entering air is now 3 to 5°C colder than ambient — which means the compressor has to work harder, the COP drops, and in cold weather the coil frosts up faster.
The minimum clearances for a typical monobloc heat pump are:
| Direction | Minimum Clearance | Why It Matters |
|---|---|---|
| Rear (coil face) | 300 mm | Air intake — must not recirculate |
| Front (fan discharge) | 1,000 mm | Exhaust air must clear the unit |
| Sides | 150 mm each | Service access and side intake |
| Top (overhang) | 500 mm | Prevents warm air trapping and snow build-up |
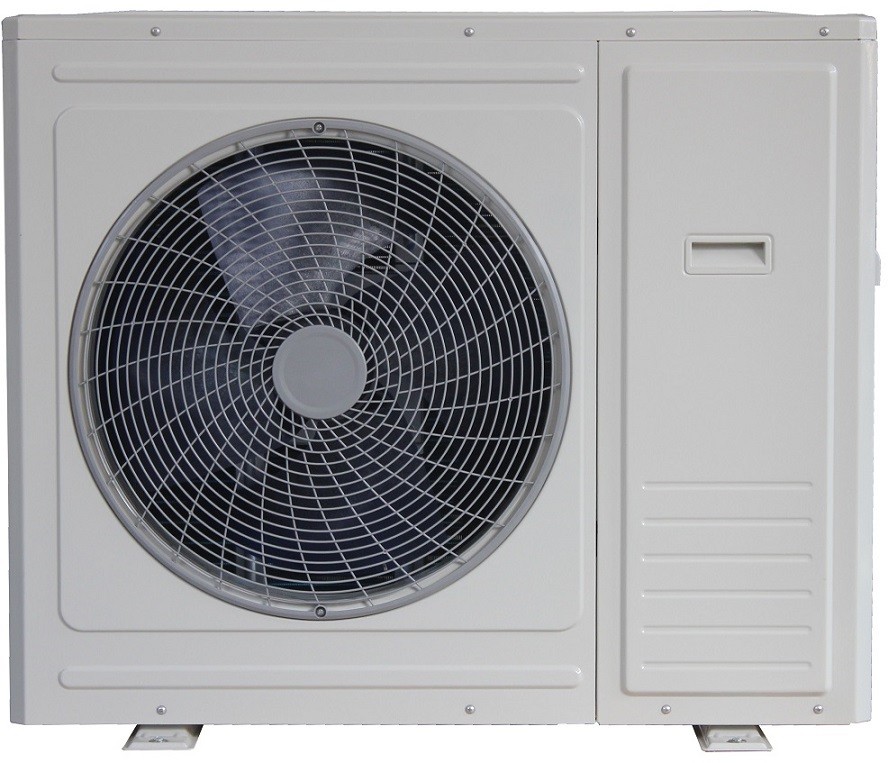
The Suoher SHAW-9DM1/K — its compact 960 × 370 × 1,260 mm monobloc body fits in tight residential plant rooms, but the outdoor coil still needs the full clearance table above. A unit this size can serve a 80 to 120 m² home if sized correctly.
Wind exposure is the second placement problem. A unit installed on an exposed rooftop or at the edge of an open field may face wind speeds of 5 to 8 m/s in winter. At those wind speeds, the convective heat loss from the cabinet and coil surface increases, the fan has to work against a higher static pressure, and the effective evaporating temperature drops. A simple wind baffle — a louvered screen placed 600 to 800 mm upwind of the unit — can recover most of the lost efficiency. In snowy climates, the unit should be mounted on a raised plinth (minimum 200 mm above ground) to prevent snow drift from blocking the coil base, and the top must be free of overhangs that could dump snow directly onto the fan.
Mistake 4: Ignoring Airflow and Hydraulics
The outdoor unit is only half the system. The indoor hydraulic circuit — buffer tank, circulating pump, expansion vessel, pipe sizing, and emitter flow — is where many installations silently lose efficiency. The most common hydraulic errors are missing buffer tanks, undersized circulating pumps, air locks in the system, and dirty filters that restrict flow.
A buffer tank is essential for any heat pump installation, not just for inverter units. Without a buffer, the heat pump has no thermal mass to absorb heat between the compressor's minimum modulation point and the building's actual heat demand. When the building needs less heat than the compressor's minimum output, the heat pump reaches its setpoint too quickly and cycles off. A buffer tank sized to 10 to 15 percent of the daily heat demand provides enough thermal mass to keep the compressor running in long, efficient cycles.
The rule of thumb for buffer tank sizing is:
Buffer volume (litres) = (Compressor min. output (kW) − Building heat loss at mild weather (kW)) × 60 (minutes) × 60 (seconds) / (4.18 (kJ/kg·K) × ΔT (K))
For a 15 kW heat pump with a 4 kW minimum output in a building that needs 2 kW at 10°C outdoor, the excess is 2 kW. With a 5°C temperature differential, the buffer should hold at least 86 litres. In practice, 100 to 200 litres is standard for residential systems.
Air locks are the second silent killer. When air accumulates in the top of a radiator, in a high point in the pipe run, or in the heat exchanger itself, it blocks water flow and reduces the effective heat transfer area. The fix is simple: install an automatic air vent at every high point in the system, and run the circulating pump at full speed for the first 30 minutes after filling to push all air to the vents. A system with a persistent 2°C temperature differential across the heat exchanger that should be 5°C is almost certainly air-locked.
Mistake 5: Skipping Commissioning
Commissioning is the final check that the system works as designed. In practice, it is the step most often skipped — the installer finishes the mechanical work, switches on the heat pump, confirms that warm water comes out, and leaves. The result is a system that runs but never reaches its rated efficiency.
Post-Install Checklist
Proper commissioning takes 60 to 90 minutes and should include at minimum the following steps:
- Flow rate verification: Confirm the circulating pump delivers the rated flow (litres per minute) by reading the flow gauge or timing a bucket fill. Low flow means low heat transfer and high compressor delta-T.
- Refrigerant charge confirmation: Check the suction and discharge pressures against the manufacturer's chart for the current outdoor temperature. Deviation of more than 5 percent indicates a charge issue.
- Controller setup: Set the weather compensation curve, heating schedules, DHW priority, and silent period. Default factory settings are rarely optimal for the specific building.
- Defrost cycle test: Force a defrost cycle and confirm the unit recovers to heating mode within 8 to 12 minutes. Longer recovery times indicate sensor or board issues.
- Electrical safety check: Verify earth continuity, RCD trip test, and measure running current against the nameplate value.
- Buffer tank stratification: Confirm that the tank develops a temperature gradient (warm top, cool bottom) during operation. A uniformly warm tank means poor connection or short-circuit flow.
- Acoustic check: Walk the property perimeter and confirm noise levels are within the specified dB(A) at 1 metre and 5 metres distance.
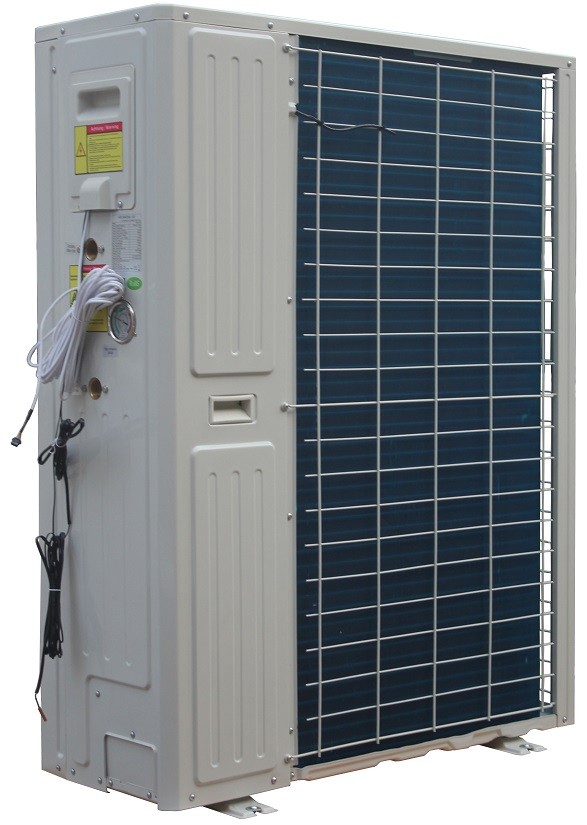
Suoher SHAW-15DM3/K during commissioning — insulated flexible hoses, pressure gauges on the service ports, and the controller showing leaving water temperature and outdoor ambient. Every unit leaves the Suoher factory in Foshan with a pre-commissioned controller, but the installer must verify the settings match the actual installation.
Checklist for Installers and Buyers
Whether you are an installer about to fit your next heat pump or a buyer about to hire one, this one-page checklist covers the five mistakes above in order:
Right-Size the Unit
Run an EN 12831 heat loss calculation. Match the heat pump capacity to the calculated loss with no more than 10 percent margin. Do not oversize "for safety."
Verify Refrigerant Charge
For monobloc units: confirm pipe run does not exceed nameplate maximum. For split systems: weigh in the charge per the manufacturer's spec and check pressures.
Place the Outdoor Unit Correctly
Rear clearance ≥ 300 mm, front ≥ 1,000 mm. Mount on a level plinth 200 mm above ground. Add a wind baffle for exposed sites. Keep top clear of overhangs.
Get the Hydraulics Right
Install a buffer tank (100 to 200 litres for residential). Put automatic air vents at every high point. Size the circulating pump for the system's pressure drop.
Commission Properly
Spend 60 to 90 minutes on the 7-step commissioning checklist. Set weather compensation. Test defrost. Verify flow rate. Do not leave until the system runs at rated efficiency.
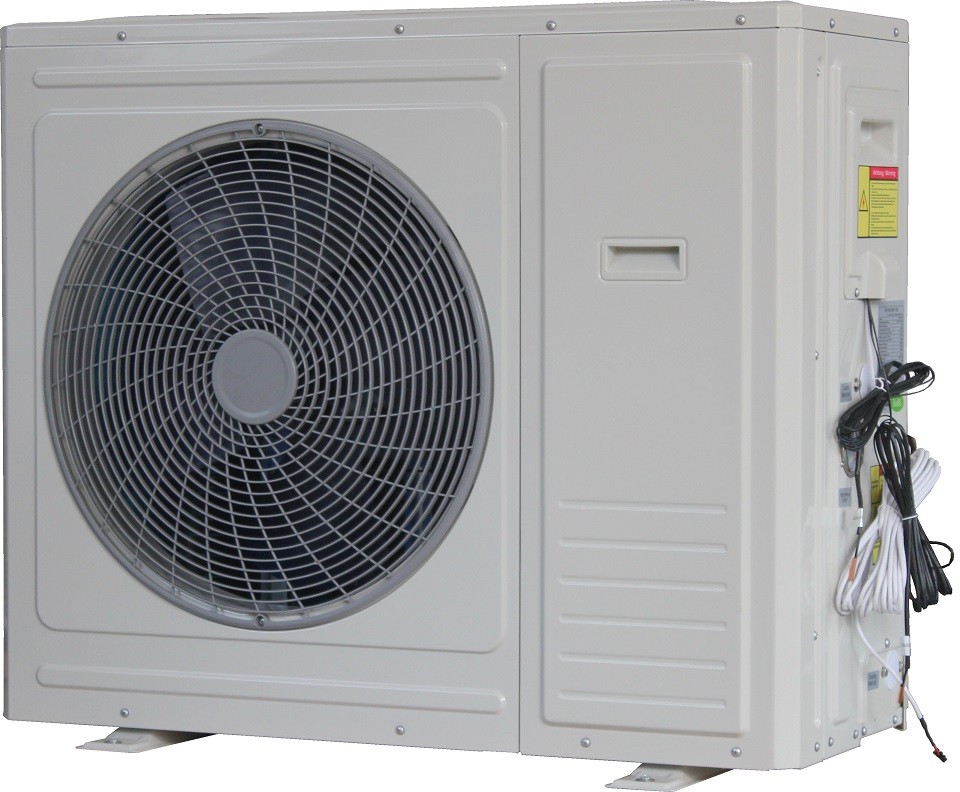
Suoher SHAW-9DM1/K — Economical DC Inverter Monobloc
A compact 9 kW DC inverter monobloc for smaller homes and apartments. GMCC compressor, COP up to 4.49, 220V single-phase — easy to install, service, and commission in tight spaces.
- Heating capacity: 5.1 – 8.9 kW
- COP: up to 4.49
- Max water temp: 60°C
- Power supply: 220V / 1-phase
- Net weight: 90 kg
Don't Let a Bad Install Kill a Good Heat Pump: Get Suoher's Commissioning Checklist
The difference between a heat pump that saves money and one that burns money is almost never the hardware — it is the installation. The five mistakes in this guide account for the majority of underperforming systems that Suoher's engineering team diagnoses in the field, and each one has a straightforward fix that costs less than the efficiency loss it causes. If you are an installer, print the checklist above and run through it on every job. If you are a buyer, ask your installer to walk you through each step before you sign off.
Suoher provides full installation manuals, commissioning checklists, and technical support for every unit we ship. Our engineering team is available to review your heat loss calculation, verify your buffer tank sizing, and troubleshoot field performance issues. Contact Suoher Heat Pump Team before your next installation to get the commissioning checklist and technical support you need to get the rated performance out of every unit.